A Beloved Japanese Treat with a Modern Twist
Daifuku mochi is more than just a sweet—it’s a symbol of joy, good fortune, and Japanese craftsmanship.
Traditionally filled with anko (sweet red bean paste, 餡子, あんこ) and wrapped in soft, stretchy mochi made from glutinous rice, Daifuku has been a cherished part of seasonal festivals and tea ceremonies for centuries. Its delicate exterior and comforting fillings have made it a staple among wagashi (和菓子, わがし), or traditional Japanese confections, designed not just to satisfy the palate but to evoke beauty and mindfulness.
Today, Daifuku has taken on countless variations—strawberry daifuku (ichigo daifuku), mochi ice cream, and modern twists like chocolate, custard cream fillings. Yet for those of us following a low-carb lifestyle, the classic chewy felt out of reach.
The Inspiration Behind Our Low Carb Daifuku Mochi Mix
As lifelong lovers of Japanese mochi, we couldn’t accept a world without it.
That’s why we set out to recreate it from the ground up—developing a unique Daifuku Mochi Baking Mix—the first of its kind that captures the essence of mochi using only clean, gluten-free, sugar-free, and vegan-friendly ingredients, with just 1g net carb per serving.
Whether you’re craving a nostalgic red bean filling, dango or mochi ice cream, this mix is made to deliver classic texture and joyful bites without the extra baggage.
Finally, a feel-good indulgence that tastes like the real deal.
What You Need to Make Low Carb Daifuku Mochi
Making this low-carb Daifuku at home is easier than you might think. Here’s everything you’ll need to recreate this beloved Japanese treat in your own kitchen.

- Ingredients (makes 6 mochi rounds)
- 135g of our Daifuku Mochi Baking Mix
- 90g room temperature water (best to use filtered or purified water)
- 9g clear-colored, neutral-flavored oil (e.g. MCT oil or liquid coconut oil such as Nutiva Organic Liquid Fractionated Coconut Oil)
👉🏻 Use oils that stay liquid at room temperature so the mochi stays soft. - 1 tablespoon Glutinous Rice Flour for dusting. You may also substitute with cornstarch or potato starch.
👉🏻 One tablespoon contains about 8g of carbs, and you’ll be using less than that in this recipe. (If you prefer a zero-carb option, use bamboo flour instead.) - Your favorite filling – e.g., classic red bean paste, either store-bought or make your own Sugar-Free Azuki Red Bean Paste, keto-friendly custard cream or ice cream.
- Tools
- 1.5-quart microwave-safe bowl
- Silicone spatula
- Small whisk (or fork)
- Kitchen scale (essential for true mochi texture!)
- Food-safe gloves
- Silicone mat
- Plastic wrap
How to Make Low Carb Daifuku Mochi
1. Preparing the dough
- In a microwave-safe bowl, combine 135g of our Daifuku Mochi Baking Mix with 90g room-temperature, filtered water. Mix with a whisk (or fork) until the batter is smooth and no dry lumps remain.
💡 Use a kitchen scale to get accurate measurements. Even a small difference in water will change the result. - Scrape the sides of the bowl with a spatula and mix again until fully combined.
- Cover the bowl with plastic wrap and poke a few small holes for steam to escape.
- Microwave Heating (3-Stages | 1000W)
- Stage 1: Microwave on high for 60 seconds
- Remove the bowl and stir thoroughly for 20–30 seconds, scraping the sides and folding the dough toward the center.
👉🏻 At this stage, the dough will thicken noticeably but may still look slightly wet.
- Remove the bowl and stir thoroughly for 20–30 seconds, scraping the sides and folding the dough toward the center.
- Stage 2: Return the bowl to the microwave and heat for another 35 seconds.
- Remove and stir again for 10–15 seconds to even out the texture and expose any remaining moist spots.
👉🏻The dough should now turn opaque (milky white) and release a faint, sweet glutinous-rice aroma.
- Remove and stir again for 10–15 seconds to even out the texture and expose any remaining moist spots.
- Stage 3: Return the bowl to the microwave and heat for a final 15 seconds.
- This final burst fully sets the structure and eliminates remaining wet areas.
- Stage 1: Microwave on high for 60 seconds
2. Add Oil & Let It Rest
- Remove the plastic wrap — be careful of hot steam!
- Add 9g oil to the hot dough. Using a spatula, mix firmly for 1–2 minutes to begin working the oil into the dough.
👉🏻 You may notice that the dough cannot absorb all the oil at once, which is normal. We’ll use up all the remaining oil during the kneading process. - Cover the bowl with plastic wrap again and let it rest for 30 minutes.
3. Knead until Smooth
- Once the mochi dough has rested for 30 minutes, transfer it to a clean silicone mat.
💡 Adding a layer of plastic wrap on top of the silicone mat makes handling the dough even easier—and helps you use less dusting flour overall. - Wearing food-safe gloves, squeeze and compress the dough firmly by hand for 30–45 seconds to help drive the oil deeper into the dough.
- Knead by hand for 3–4 minutes using a firm ‘push-and-fold‘ motion.
- During the first minute, the dough may feel tight and firm, and may slide a bit—this is normal. Hold it steady with your other hand and keep kneading continuously. You’ll notice it softening fairly quickly as the oil incorporates.
- Around the 2-minute mark, oil your hands using any residual oil left in the mixing bowl, then continue kneading.
- By the 3-minute mark, the dough should feel noticeably softer, smoother, and more pliable.
- Toward the end of kneading (around 3½–4 minutes), you’ll notice the dough gently lifts off the mat instead of sticking — that’s when you know it’s been kneaded enough.
💡 If at any point the dough feels overly tight or resistant, lightly oil your hands again—it should soften almost immediately.
- After kneading, your dough should look smooth, soft, and silky. It should feel supple and slightly bouncy when you press it.
4. Divide the Mochi Dough
- Divide the mochi dough into 6 equal portions. Shape each portion into a smooth ball.
- Place a piece of plastic wrap on top of the silicone mat to prevent sticking.
- Using the palm of your hand, gently press the dough flat into a round about 3.5″ wide and roughly ⅛″ thick.

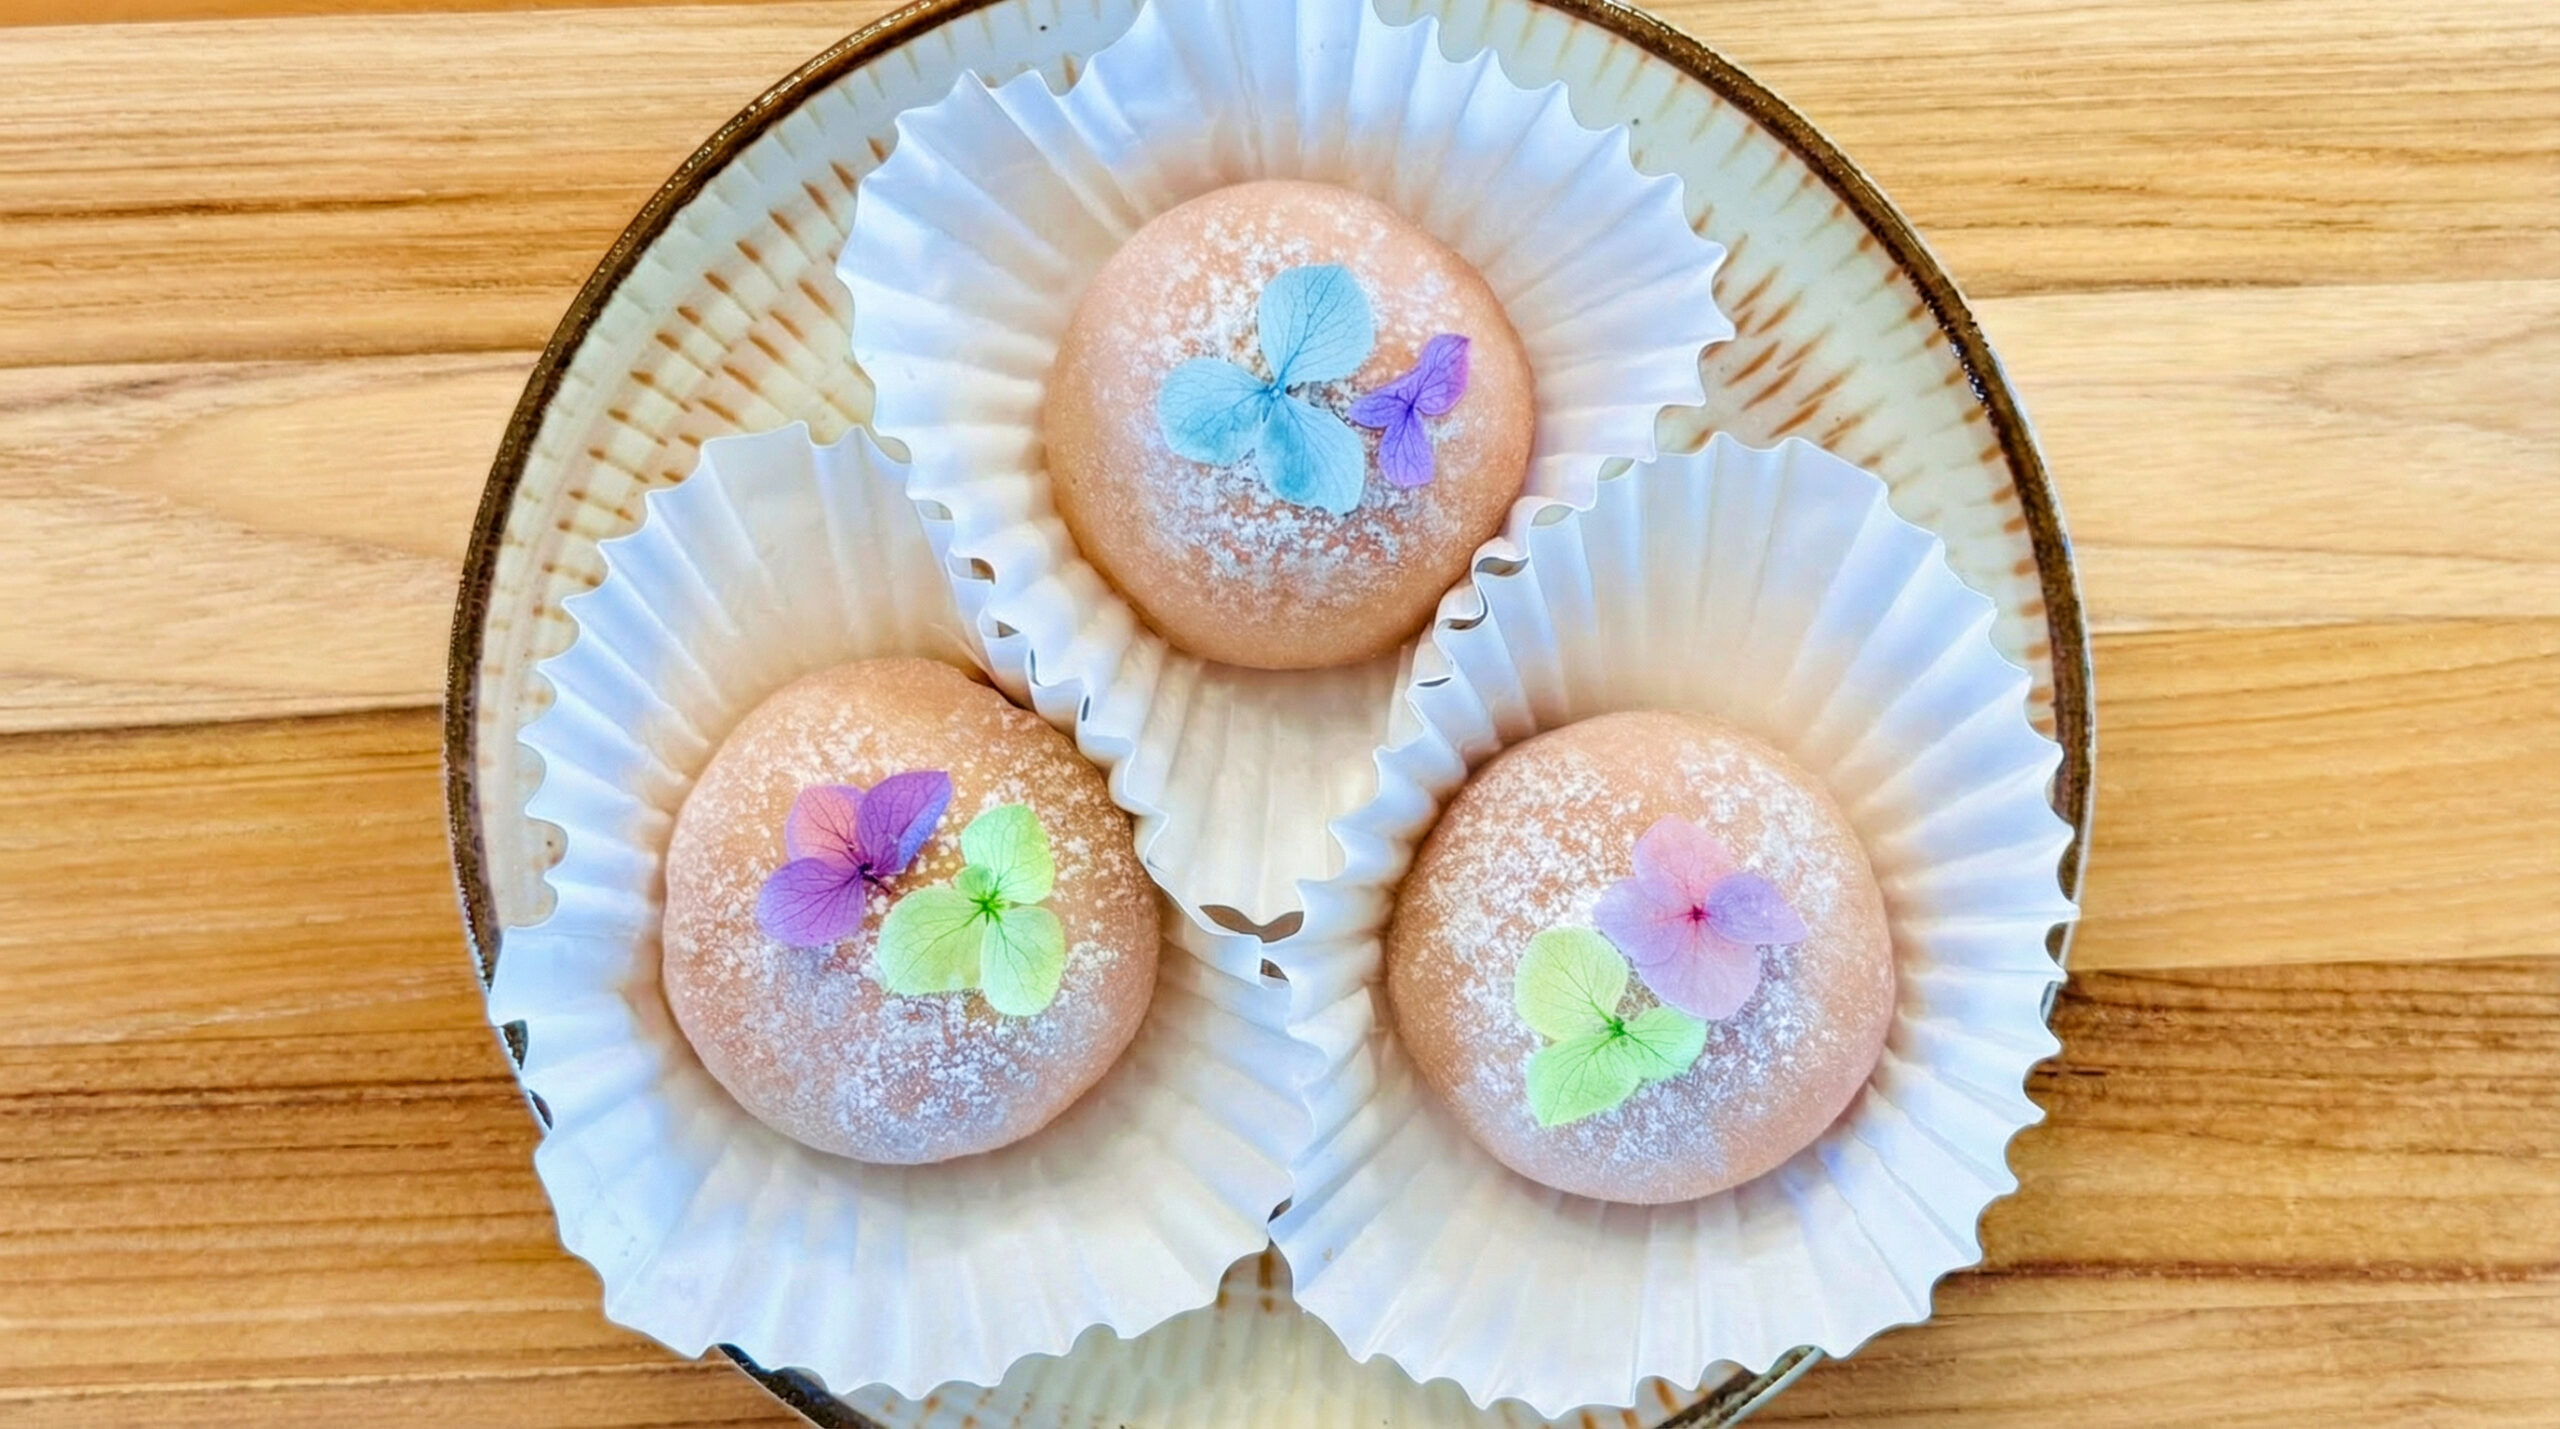
5. Assemble
- Retrieve your pre-portioned filling (about 25g each).
- Gently pick up one mochi round and place into your palm.
- Place the filling in the center, fold the sides toward the middle, pinching the seams to seal.
- Add the final touch—lightly dust with cooked glutinous rice flour to give your daifuku that authentic finish. Gently shape it with your hands so it looks nicely rounded.
- Repeat these steps with the remaining filling and mochi dough.
6. Enjoy!
- Our Daifuku mochi is best eaten the same day at room temperature.
👉🏻 If kept overnight, wrap each mochi individually and store in an airtight container in the fridge for up to 4 days.

Tips for Success
- Use filtered or purified water – Because mochi is such a clean-tasting dessert, even subtle flavors from tap water (like chlorine or minerals) can interfere with its purity.
- Use oils that stay liquid at room temperature – Solid oils (like regular coconut oil or butter) will harden when cooled.
- Work in small batches – We recommend using only ½ bag (135g) of the baking mix per batch. Smaller portions are easier to knead and also help ensure the dough heats evenly in the microwave.
- Let the dough fully rest before kneading – This gives the mochi dough time to cool and allows the natural gelling agents to fully hydrate and activate—resulting in a smooth, and elastic dough.
- If the dough feels a bit firm – If at any point during shaping the dough feels slightly firm or less pliable, lightly coat your hands or the surface of the dough with a small amount of oil, then gently knead it again. The dough will quickly soften, regain its elasticity, and become much easier to work with.
- Don’t skip the kneading – Like traditional mochitsuki (餅つき), kneading is what transforms the dough from rough to silky. The more you knead, the softer and stretchier it gets.
Frequently Asked Questions
Q1: How many servings does one bag make?
One full bag weighs 270g and makes 12 mochi rounds. We recommend working with ½ bag at a time for easier handling (see Tips for Success).
Q2: What’s the best way to handle the dough?
Like traditional mochi, this dough is a little sticky! We recommend wearing food safe gloves and lightly dusting your work surface and the dough to keep things mess-free.
Q3: Why do you recommend using clear, neutral-flavored oil?
Because oil directly influences the color, aroma, and flavor of your dough. Any tinted or strong-smelling oils (e.g., olive, avocado) will darken your dough and leave an overpowering taste.
Q4: Can I use other fillings besides red bean paste?
Absolutely! You can fill them with keto ice cream, custard cream, ganache, fresh fruit, or whatever your heart desires.
👉🏻 Check out our Mochi Ice Cream recipe blog.
Q5: How much filling should I use for the mochi?
For best results, we recommend keeping a 10g difference between skin and filling weight. For example, if your filling is 25g, aim for about 35g of mochi dough. This gives you the perfect balance of chewy skin and flavorful center.
Q6: How do I store leftover mochi dough?
For unused mochi dough, wrap it tightly in plastic wrap, then place it in a zip-top bag or airtight container. The dough can be kept at room temperature for up to 2 days. When you’re ready to use it again, simply knead the dough a few times to bring it back to life. If it feels a bit tight or dry, lightly oil your hands and give it another quick knead.
Q7: How do I store leftover daifuku?
Wrap each mochi individually and store in a seal container in the fridge for up to 4 days. Let it sit at room temperature for 10–15 minutes before serving.
👉🏻 For ice cream versions, return uneaten pieces to the freezer immediately after serving – check out our Mochi Ice Cream recipe blog.

Bringing It Full Circle—where mindful eating and mochi lovers unite!
Mochi is more than just a dessert to us — it’s the reason Mochi Cloud Sweets exists.
Our Daifuku Mochi Baking Mix is where it all began. It started with a craving for something that didn’t exist: traditional mochi but without carbs overload—so we created it ourselves.
Today, this mix stands as the foundation of our mission: to bring authentic, low-carb, gluten-free Japanese desserts to every mochi lover.
Whether you’re celebrating a season, a moment, or simply your sweet tooth — this is your invitation to rediscover mochi in a way that’s joyful, mindful, and truly satisfying.
From our kitchen to yours,
Mochi Cloud Sweets ♡
👉🏻 Order Now: Shop Here
✨ Watch It Come to Life: Daiifuku Mochi
📷 Share Your Creations: Tag us @MochiCloudSweets on Instagram—we would love to feature your masterpieces!